Docker Desktop disk space on Mac: find it and get it back
Docker Desktop keeps every image, container and volume in one disk image file. See its real size, prune safely and shrink it without surprises.
Docker Desktop for Mac keeps all of its Linux containers, images, volumes and build cache inside one large disk image file, Docker.raw, stored in ~/Library/Containers/com.docker.docker/Data/vms/0/data. To get space back, check what Docker is holding with docker system df, prune the things you no longer need, and only then think about changing the disk limit, because shrinking it wipes everything.
Most of the confusion comes from that single file. It hides inside your Library folder, many tools report a size far larger than what it really uses, and deleting things inside Docker does not always shrink it straight away. This guide shows how to read its true size, what each prune command removes, and when the bigger switches are worth it.
Where Docker's space goes
Docker containers need Linux, so Docker Desktop runs a small Linux virtual machine, and that machine keeps its data in the Docker.raw file. Everything you pull, build or create lives inside it:
- Images you pulled or built, including old versions left behind after a rebuild.
- Containers, including stopped ones you forgot about.
- Volumes, where databases and other services keep their data.
- Build cache, the layers BuildKit keeps to make rebuilds fast.
Docker's documentation explains that you can see the disk image's location in Docker Desktop's settings, under the Advanced section of Resources. Recent versions label that section VM resources.
Check the real size of Docker.raw
Docker's Mac FAQ warns that many tools report the maximum file size rather than the actual size. To see both, run:
cd ~/Library/Containers/com.docker.docker/Data/vms/0/data
ls -klsh Docker.raw
This changes nothing. The first number on the line is the space the file really takes up on your disk. The size column further along is the maximum it is allowed to grow to. If the first number is small and the second is large, the file is not taking as much of your disk as the bigger number suggests.
du -h Docker.raw in the same folder also reports the real usage. If you moved the disk image somewhere else in settings, use that folder instead.
See what Docker is holding
docker system df
This prints a short table with a row each for images, containers, local volumes and build cache, showing the total, how many are active, their size and how much is reclaimable. It only reads. For a breakdown of every image, container and volume:
docker system df -v
If you prefer a window, open the Docker Desktop Dashboard and click Images. Docker's documentation notes that the header shows how many images you have and the disk space they use, and that selecting images shows how much you would reclaim by deleting them. The Containers and Volumes views list the rest.
Free space safely, smallest step first
Each command below asks for confirmation before it deletes anything. Leave off -f (force) so you always see that prompt.
1. Remove stopped containers
docker container prune
Removes every stopped container. Warning: anything written inside a stopped container's own filesystem, rather than to a volume, goes with it.
2. Remove unused images
docker image prune
Removes dangling images: untagged layers left behind when you build a new version with the same tag. This is nearly always safe.
docker image prune -a
Removes every image that no container uses, not only dangling ones. Warning: you will have to pull or rebuild these images the next time you need them, which takes time and bandwidth.
3. Clear the build cache
docker builder prune
Removes dangling build cache. To keep recent cache and drop the rest, add a filter such as --filter until=24h. To remove all unused build cache, add -a. Your next builds will be slower while the cache refills.
4. Remove unused volumes
docker volume prune
By default this removes only anonymous volumes that no container uses. Adding -a also removes unused named volumes.
Warning: volumes are where databases and other services keep their data. A named volume that no container is using right now may still hold the only copy of a development database. Run docker volume ls and check each name before you use -a.
5. Everything at once
docker system prune
Docker's documentation for this command shows the warning it prints: it removes all stopped containers, all networks not used by at least one container, all dangling images and unused build cache. Adding -a also removes every image without a container, and adding --volumes also removes anonymous volumes no container uses.
Warning: docker system prune -a --volumes is the broadest version. Run the smaller steps first if you are unsure what you rely on.
Why the space does not come back at once
Docker's FAQ makes three points worth knowing:
- It can take a few minutes for freed space to show up on the Mac.
- Space is only freed when images are deleted.
- Deleting files inside a running container does not free space automatically.
The FAQ also gives a command to trigger space reclamation at any time:
docker run --privileged --pid=host docker/desktop-reclaim-space
It runs a container with full privileges inside Docker's virtual machine, so use it exactly as Docker's documentation gives it and do not swap in an image from anywhere else. Afterwards, check ls -klsh Docker.raw again.
Set a disk limit, knowing the cost
Docker Desktop has a Disk usage limit setting under Settings, then Resources (VM resources in recent versions), then Advanced. Docker describes it as the maximum amount of disk space the engine can use.
Lowering it is not a gentle trim. Docker's Mac FAQ warns that when you reduce the maximum size, the current disk image file is deleted, and all containers and images are lost. Before you change it:
- Push any images you built yourself to a registry, or save them to a file with
docker save -o myimage.tar myimage:tag. - Export anything you need from your volumes, such as a database dump.
- Change the limit and apply.
- Pull or load your images again.
Move the disk image to another drive
If your internal drive is small, the same Advanced section has a Disk image location setting. Docker's documentation notes you can move the disk image to a different location, for example an external SSD. Keep that drive connected whenever you use Docker.
The reset buttons
If you want to start completely fresh, open the Troubleshoot menu from the Docker menu in the menu bar or the question mark icon at the top right of the Dashboard. Docker's documentation describes Clean up data as a disk image reset that destroys all local containers and images but keeps your settings. Reset to factory defaults goes further and resets every option as well.
Warning: both remove every container, image and volume on this Mac. Push or export anything you need first.
Check Time Machine is not copying it
Docker's disk image is one very large file that changes whenever you use Docker, so it is worth knowing whether Time Machine backs it up. To check, run:
tmutil isexcluded ~/Library/Containers/com.docker.docker
This only reads and prints [Excluded] or [Included]. If it is included and you do not need Docker's data in your backups, add the folder in Apple menu > System Settings > General > Time Machine > Options, as Apple explains in Exclude files from a Time Machine backup. The same path applies on macOS 14 Sonoma.
Know when it is not Docker
If Docker.raw turns out to be small, the space has gone somewhere else. Apple's Free up storage space on Mac covers the built-in tools, and these guides go further:
- Find large files on your Mac
- What System Data is and how to reduce it
- Purgeable space and APFS snapshots
Check the whole disk with Headroom
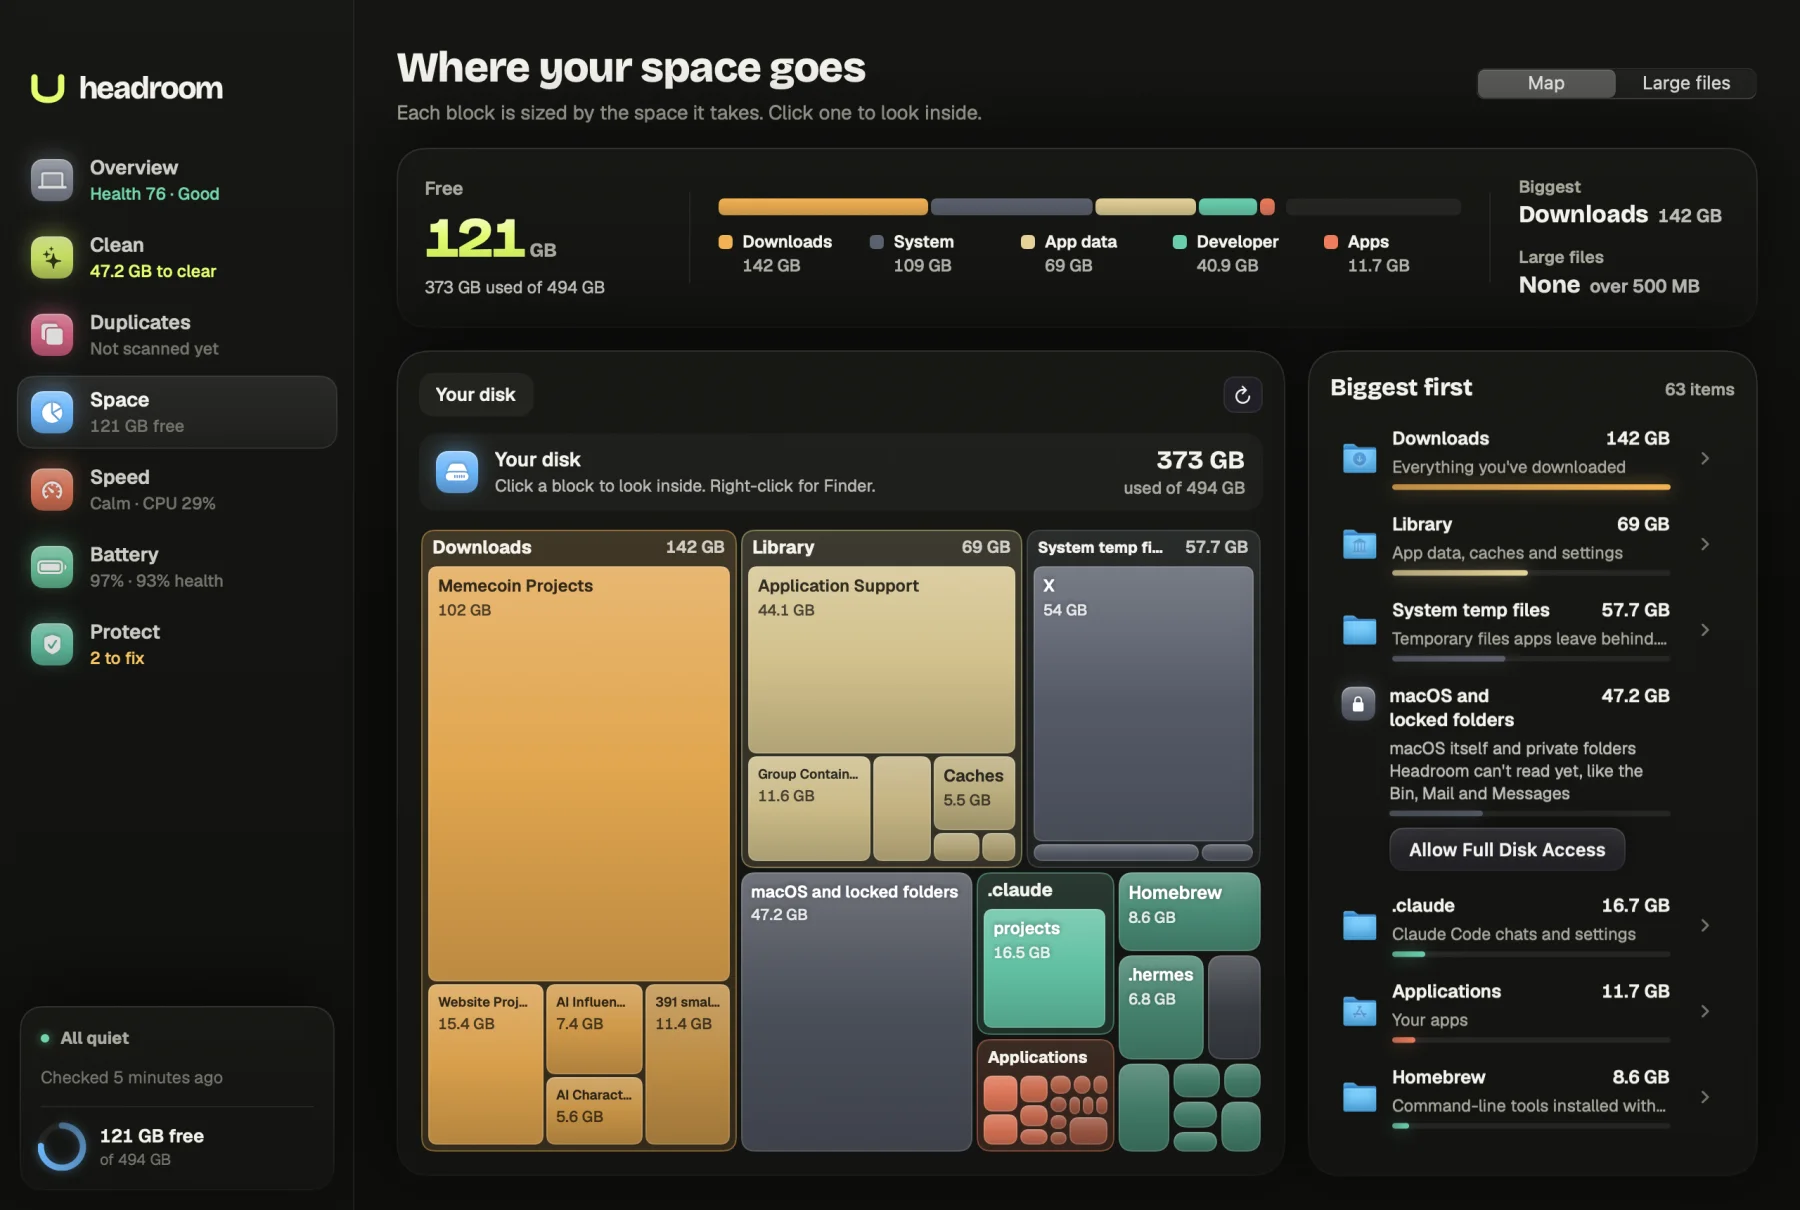
Headroom does not prune Docker; docker system prune and Docker Desktop's own views do that job well. What Headroom's free Space map adds is the bigger picture: an interactive map of your home folder, apps and Homebrew, biggest first, so you can see whether Docker is really the problem before you delete images you will need again.
If the space has gone elsewhere, the free Clean scan finds caches, old build folders, package caches and installers you have already used. A $19 one-time licence, for up to three Macs, clears what you tick. See the price or download Headroom.
Questions
Where does Docker Desktop store images on a Mac?
In a single disk image file called Docker.raw, inside ~/Library/Containers/com.docker.docker/Data/vms/0/data. Every Linux image, container, volume and build cache lives inside that one file.
Why does Docker.raw look so big in Finder?
Many tools report the file's maximum size rather than the space it actually takes up. Run ls -klsh Docker.raw in that folder: the first number is what it really uses on disk.
Is docker system prune safe?
By default it removes stopped containers, unused networks, dangling images and unused build cache, and it asks before it starts. It does not remove volumes unless you add --volumes, and even then only anonymous ones. Read the warning it prints before you type y.
Why didn't my Mac get the space back after pruning?
Docker's documentation says it can take a few minutes for freed space to show up on the Mac. Space is also not freed when files are deleted inside a running container, only when images and other objects are removed.
Does lowering the disk usage limit delete my images?
Docker's Mac FAQ warns that reducing the maximum size deletes the current disk image, so all containers and images are lost. Push or save anything you need first.