brew cleanup: clear the Homebrew cache and old versions
What brew cleanup removes, where the Homebrew cache lives, and the dry-run, autoremove and uninstall commands that safely free space on a Mac.
brew cleanup removes old versions of the formulae and casks you have installed, stale lock files, and cached downloads older than 120 days from Homebrew's cache in ~/Library/Caches/Homebrew. Run brew cleanup -n first to see what it would remove, then brew cleanup to do it. For more space, brew autoremove uninstalls dependencies nothing needs any more, and brew cleanup --prune=all empties the download cache completely.
Homebrew already tidies up after itself on a schedule, so the cache may be smaller than you expect. If it is, look at the packages you have installed, which is where the rest of Homebrew's space goes. This guide shows where Homebrew keeps everything, how to measure it, and the safe order to clean it.
Where Homebrew uses disk space
On Apple silicon Macs, Homebrew lives in /opt/homebrew. Its FAQ explains this is so an Apple silicon install and an Intel install under Rosetta 2, in /usr/local, can sit side by side. If you ever ran Homebrew under Rosetta, check both.
| Location | What it holds | Find it with |
|---|---|---|
/opt/homebrew/Cellar |
Every installed formula, one folder per version | brew --cellar |
/opt/homebrew/Caskroom |
Homebrew's records and files for apps installed as casks | brew --caskroom |
~/Library/Caches/Homebrew |
Downloaded bottles, source archives and cask installers | brew --cache |
~/Library/Logs/Homebrew |
Build and install logs |
Cask apps themselves are usually installed in your Applications folder, so they count there rather than in /opt/homebrew.
Measure it
du -sh "$(brew --cellar)" "$(brew --caskroom)" "$(brew --cache)" ~/Library/Logs/Homebrew 2>/dev/null
This prints the size of each location. It only reads.
To see which installed formulae take the most room:
du -sh "$(brew --cellar)"/* | sort -h | tail -15
This lists the 15 largest formulae in the Cellar, biggest last. Compilers and language runtimes are often near the top. It changes nothing.
Step 1: preview with a dry run
brew cleanup -n
-n is short for --dry-run. Homebrew lists everything it would remove, one Would remove: line per item with its size, and ends with an estimate in the form "This operation would free approximately … of disk space." Nothing is deleted.
You may also see warnings in the form Skipping <formula>: most recent version <version> not installed. That means a newer version exists than the one you have. Homebrew keeps the newest version you have installed and only considers the older ones. It also skips an old version that is still linked or that you have pinned with brew pin, and it says so.
Step 2: run brew cleanup
brew cleanup
This removes what the dry run listed: old versions of installed formulae and casks, stale lock files, and cached downloads older than 120 days. It finishes with "This operation has freed approximately … of disk space."
Warning: old versions are deleted for good. If a script or project relies on a specific older version, install a versioned formula such as python@3.12, which Homebrew treats as a separate package, or pin the formula with brew pin before you clean.
To clean only one package, name it:
brew cleanup node
Step 3: empty the download cache
The cache only holds downloads Homebrew has already used, so emptying it is safe. Homebrew downloads again if you reinstall something.
brew cleanup --prune=all
This removes all cache files, whatever their age, as well as doing a normal cleanup. To keep recent downloads, give a number of days instead, such as --prune=7.
There is also a scrub option:
brew cleanup -s
Homebrew's own help describes this as scrubbing the cache, including downloads for even the latest versions, while still keeping downloads for anything currently installed. If you really want the whole cache folder gone, the help text gives rm -rf "$(brew --cache)".
Warning: rm -rf deletes immediately and skips the Bin. The quotes around $(brew --cache) matter; leave them in.
Step 4: remove orphaned dependencies
When you install a formula, Homebrew installs what it depends on too. Uninstall the formula later and those dependencies can stay behind.
brew autoremove -n
This lists formulae that were only installed as dependencies and that nothing installed needs any more. It removes nothing. If the list looks right:
brew autoremove
Warning: check the list for tools you use directly. If you started using something that originally arrived as a dependency, such as a compression tool or jq, it may appear here. Mark it as wanted with brew tab --installed-on-request jq (replace jq with the tool's name), and autoremove will leave it alone. Running brew install on it again does the same.
Step 5: uninstall what you no longer use
The biggest savings often come from whole packages. This shows the formulae you installed on purpose, leaving out everything that is only there as a dependency:
brew leaves --installed-on-request
Go through the list. For anything you no longer use:
brew uninstall ffmpeg
Replace ffmpeg with the formula's name. Homebrew refuses if something else you have installed still depends on it, which protects you from breaking another tool. Run brew autoremove afterwards to clear the dependencies it leaves behind.
For apps installed as casks:
brew uninstall --cask some-app
Use Homebrew rather than dragging a cask app to the Bin, so Homebrew's records stay in step with what is really installed. Adding --zap removes all files associated with the cask, such as its settings and caches. Warning: Homebrew's help says --zap may remove files shared between applications, so use it only for apps you are removing for good. For apps you installed outside Homebrew, Apple covers the options in Uninstall apps on your Mac.
Tune or turn off automatic cleanup
Homebrew's FAQ says it uninstalls old versions of each formula you upgrade with brew upgrade and periodically runs a fuller cleanup every 30 days. You can change that behaviour with environment variables, set in your shell profile (~/.zshrc for the default zsh shell):
| Variable | What it does | Default |
|---|---|---|
HOMEBREW_CLEANUP_MAX_AGE_DAYS |
Age at which cached files are removed | 120 |
HOMEBREW_CLEANUP_PERIODIC_FULL_DAYS |
Days between full automatic cleanups | 30 |
HOMEBREW_NO_INSTALL_CLEANUP |
Set it to stop automatic cleanup entirely | Not set |
HOMEBREW_CACHE |
Moves the download cache, even to an external drive | ~/Library/Caches/Homebrew |
For example, adding this line to ~/.zshrc makes Homebrew drop cached downloads after 30 days instead of 120:
export HOMEBREW_CLEANUP_MAX_AGE_DAYS=30
Open a new Terminal window for it to take effect. All of these are documented in the Homebrew manual and the Homebrew FAQ.
What not to do
- Do not delete folders in the Cellar by hand. Homebrew keeps links and records for every version, and removing folders behind its back leaves broken links. Use
brew uninstallorbrew cleanup. - Do not delete
/opt/homebrewto uninstall Homebrew. The FAQ says to run the official uninstall script from the Homebrew/install repository instead. - Do not run Homebrew with sudo. Homebrew itself warns that running it as root is extremely dangerous and no longer supported. Run it as your own user.
After a big clean-up, brew doctor checks your installation for problems. If you are new to running commands, Apple's Terminal User Guide explains the basics, and its Free up storage space on Mac article covers the rest of the disk.
A ten-minute routine
brew cleanup -n, thenbrew cleanup.brew autoremove -n, thenbrew autoremove.brew leaves --installed-on-requestand uninstall what you have stopped using.brew cleanup --prune=allif you want the cache empty.brew doctorto finish.
Homebrew is rarely the only developer tool filling a disk. See how to clear the cache on a Mac, how to delete node_modules safely and how to clear Xcode DerivedData.
See it all at once with Headroom
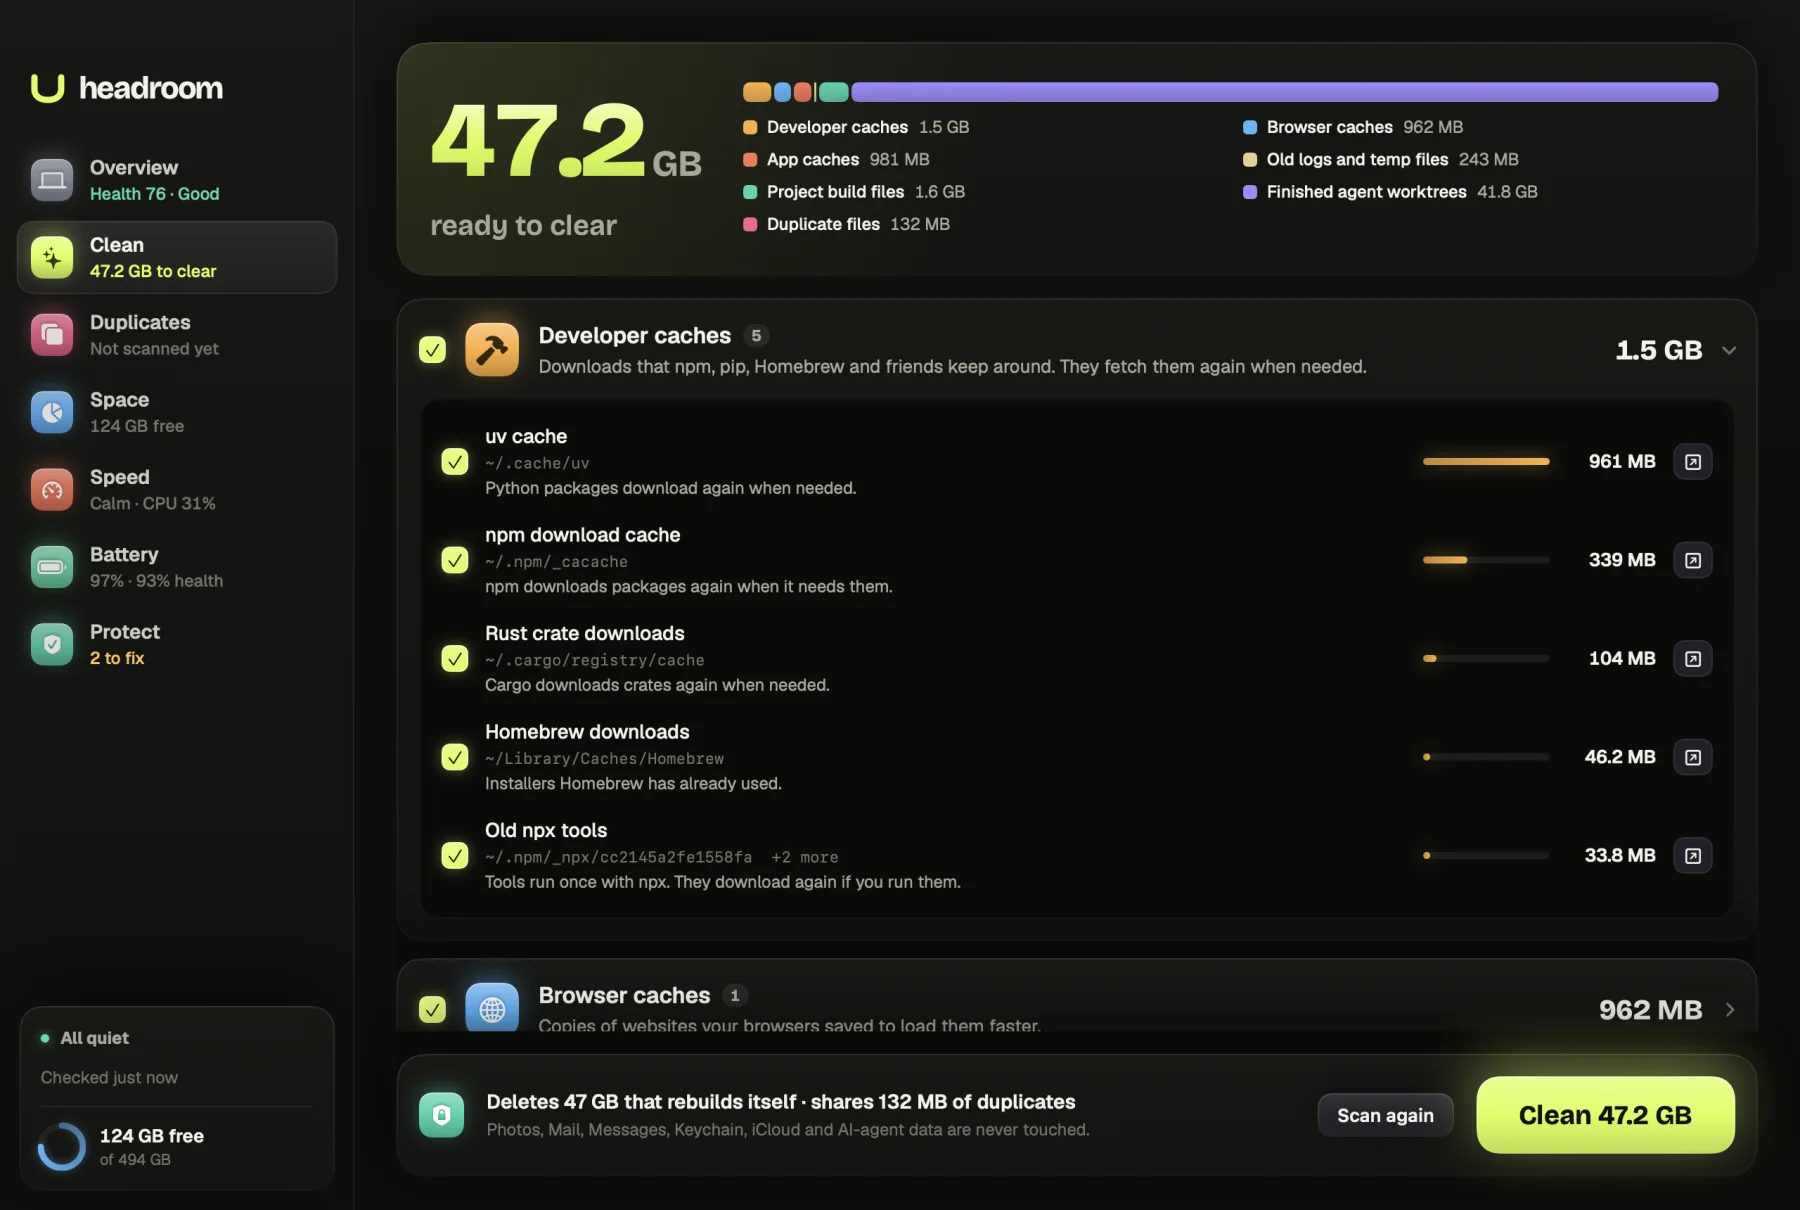
Headroom's free scan includes your Homebrew downloads in its Developer caches group, with their size, next to the npm, pip, Yarn, Xcode and other caches it finds. Its Space map shows /opt/homebrew as its own entry, so you can see at a glance how much your installed tools take compared with everything else.
A $19 one-time licence, for up to three Macs, lets you clear the caches you tick. Headroom does not uninstall formulae or remove old versions; that stays with brew, which knows what depends on what. See the price or download Headroom.
Questions
What does brew cleanup do?
It removes old versions of installed formulae and casks, stale lock files and cached downloads older than 120 days. Run brew cleanup -n first to see exactly what it would remove without removing anything.
Where is the Homebrew cache on a Mac?
Usually ~/Library/Caches/Homebrew. Run brew --cache to print the exact path on your Mac. It only holds downloads, so Homebrew fetches them again if it needs them.
Is it safe to delete the Homebrew cache?
Yes. The cache holds bottles and installers Homebrew has already used. brew cleanup --prune=all removes all cached files, and the only cost is downloading them again if you reinstall something.
Does Homebrew clean up automatically?
Yes. After brew install, upgrade or reinstall, Homebrew cleans up the packages involved, and every 30 days it runs a full cleanup. Setting HOMEBREW_NO_INSTALL_CLEANUP turns that off.
What is the difference between brew cleanup and brew autoremove?
brew cleanup removes old versions and cached downloads. brew autoremove uninstalls formulae that were only installed as dependencies of something you have since removed. Both have a -n dry run.